Deploy Azure Static Web Apps with API Function
I’ll share with you a walkthrough on how to deploy the app that we implemented previously to Azure.
In this final part of this series about Azure Static Web Apps, I’ll share with you a walkthrough on how to deploy the app that we implemented previously to Azure.
Setup Azure
Azure Account
In this article I assume you already have a Microsoft Account. What we’re going to do is to create an Azure Account.
Go to https://azure.microsoft.com/en-us/free/ and choose Try Azure for free.
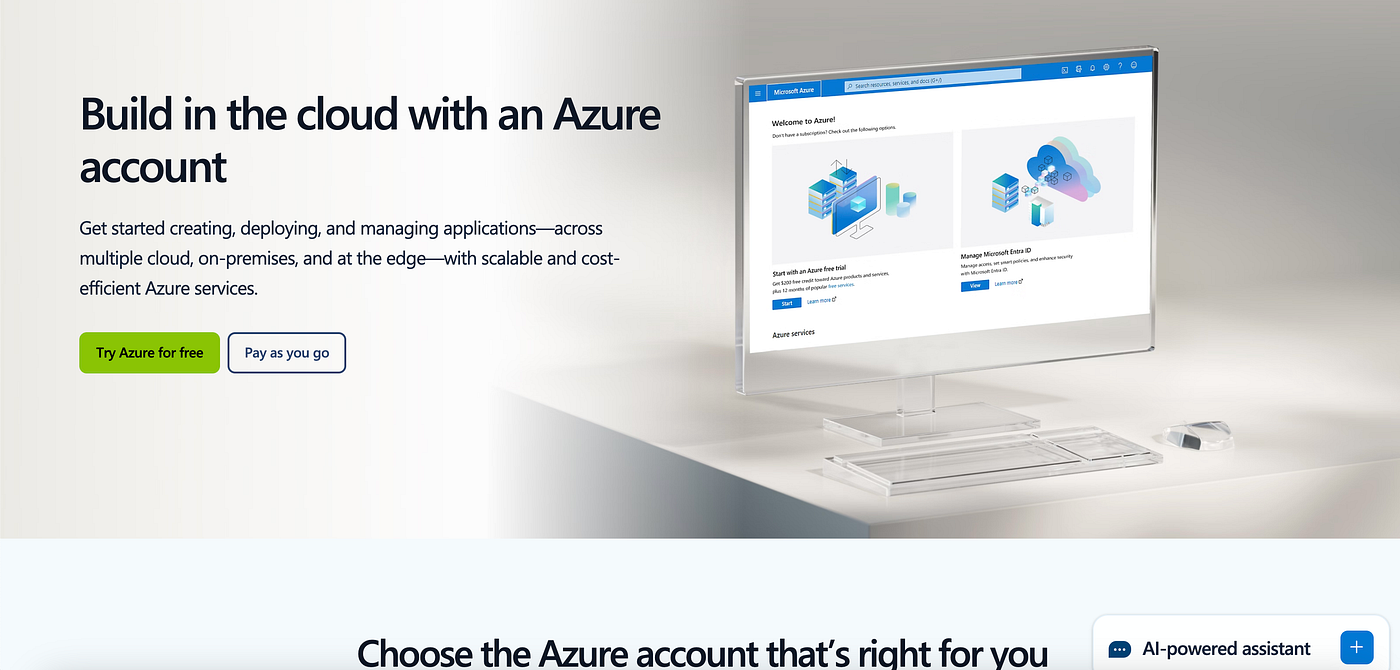
Screenshot azure.microsoft.com/en-us/free
Follow the instruction, once the new account is created, login in to Azure Portal. From here you can setup your billing profile, and then create a Billing Subscription. You’ll need that in your next step.
Setup Azure CLI
Follow Microsoft document on installation. Here I’m installing on MacOS.
brew update && brew install azure-cliSign in to Azure
az loginAfter follow the login process, your terminal will prompt you to select the Subscription you just created above. Select it as instructed to finish the login.
Deploy the app
When trying to deploy the app with the api location set to be api, I have the following error message.
Reason: The size of the function content was too large. The limit for this Static Web App is 104857600 bytes.
Pay attention to the above error as many run into this error when deploying API function. It’s clear from the error message that’s the function content was too large. However, it doesn’t say why, which cause many to be confused. The reason is the CLI was trying to packaging the node_modules as the build still depends on the libraries inside node_modules .
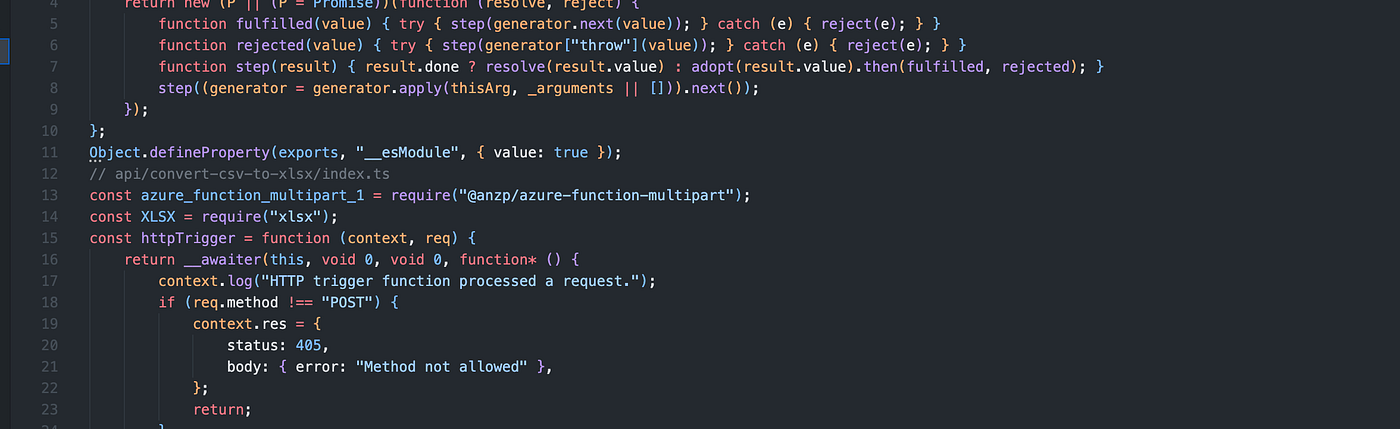
Screenshot, the build depends on libraries from node_modules
To resolve this we need to modify our build script to make the final build a standalone build, without dependencies on node_modules.
We’re using a compile tool called ncc from Vercel — the company behind NextJs — to bundle all our application code and its dependencies into one single file.
GitHub - vercel/ncc: Compile a Node.js project into a single file. Supports TypeScript, binary…
Compile a Node.js project into a single file. Supports TypeScript, binary addons, dynamic requires. - vercel/ncc
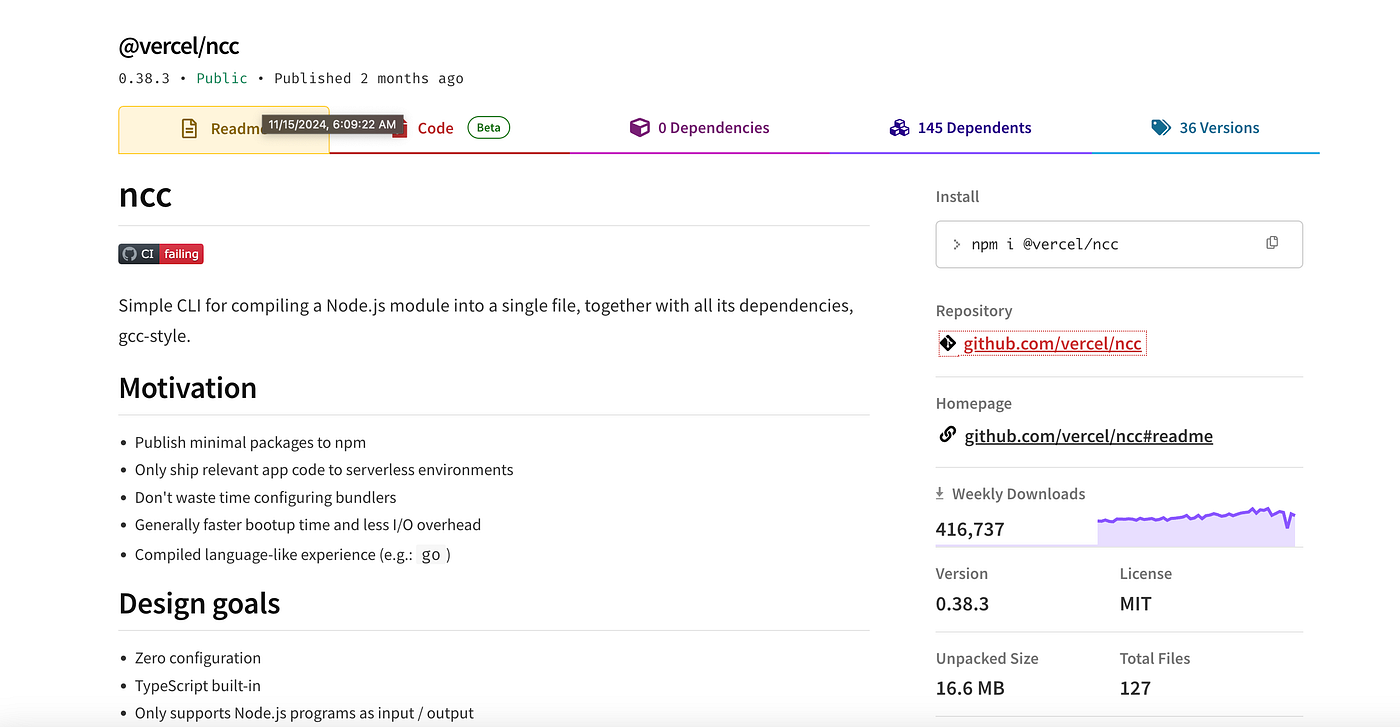
Screenshot, ncc package with over 400 thousands downloads per week
Run this installation command in your terminal:
cd api
npm install --save-dev @vercel/ncc
Modify the build script in package.json in api directory:
"build": "./node_modules/.bin/ncc build ./convert-csv-to-xlsx/index.ts -o ./dist/convert-csv-to-xlsx && cp host.json dist/host.json && cp local.settings.json dist/local.settings.json && cp convert-csv-to-xlsx/function.json dist/convert-csv-to-xlsx/function.json",What we’re doing also are copying host.json , local.settings.json to dist and convert-csv-to-xlsx/function.json to dist/convert-csv-to-xlsx/function.json . Those are the config files necessary for the CLI to recognize there’s a function to be run or deployed.
Modify file api/convert-csv-to-xlsx/function.json to be:
{
  "bindings": [
    {
      "authLevel": "anonymous",
      "type": "httpTrigger",
      "direction": "in",
      "name": "req",
      "methods": ["get", "post"]
    },
    {
      "type": "http",
      "direction": "out",
      "name": "res"
    }
  ]
}
Run npm run build inside api . After that, add api location to our swa-cli.config.json:
{
  "$schema": "https://aka.ms/azure/static-web-apps-cli/schema",
  "configurations": {
    "csv-to-clsx-2": {
      "appLocation": ".",
      "apiLocation": "api/dist",
      "outputLocation": "dist",
      "appBuildCommand": "npm run build",
      "run": "npm run dev",
      "appDevserverUrl": "http://localhost:5173"
    }
  }
}
Build frontend application
At the root folder of the project, run build command to build the front React SPA part of our application.
npm run buildDeploy!
swa deployFollow the instruction in the terminal to select or create a new Azure Static Web App within Azure Portal to deploy to.

Screenshot, the project is sucessfully deployed
That’s it, now we have the functioning application in place. Check it out at https://happy-plant-0cb03201e-preview.westus2.4.azurestaticapps.net.